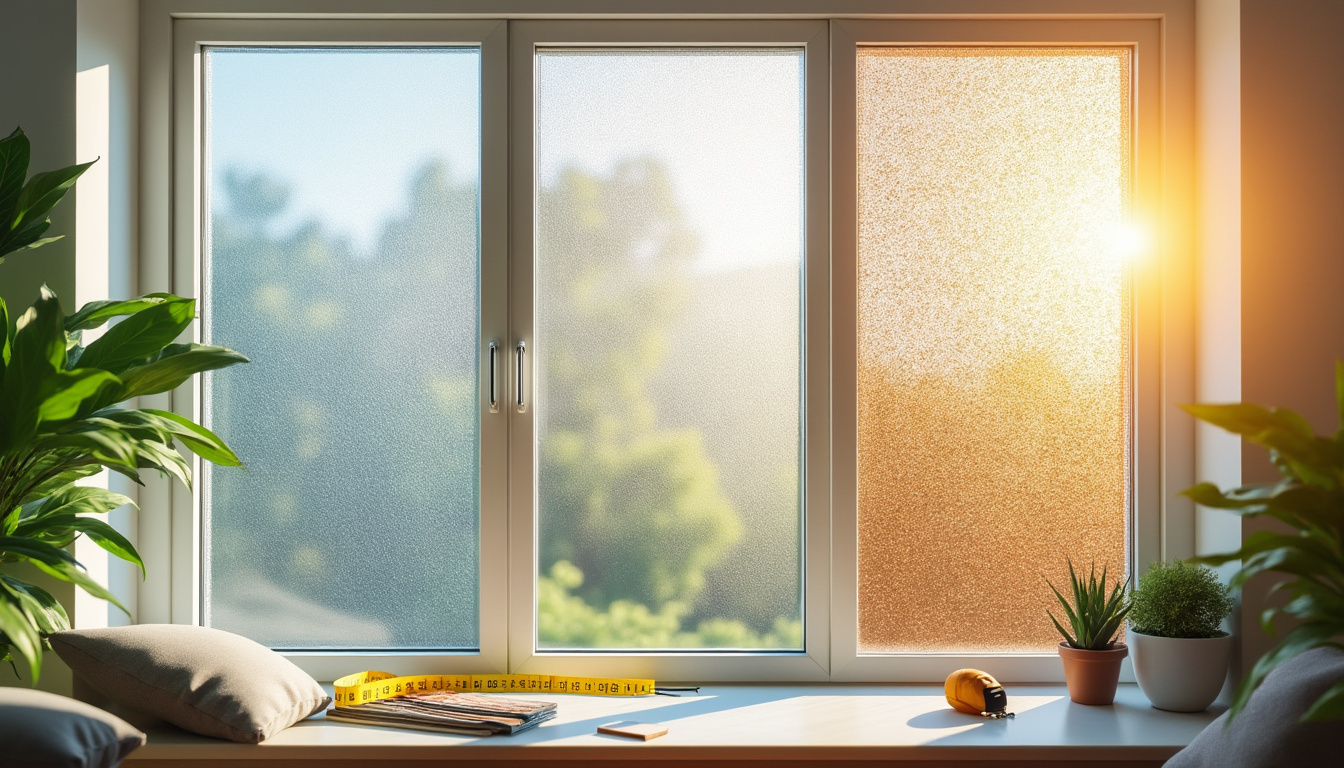
When the cold arrives and the icy breath comes from the window frames, the insulating film becomes a quick, economical, and often surprising solution. This file dissects what these films are really worth: how they reduce heat losses, which models offer the best performance/price ratio in 2026, and above all, how to successfully apply the film to avoid bubbles and condensation. Field tests, concrete figures, and practical advice allow you to choose according to your glazing, budget, and status (tenant or owner). As a thread, the case of Lucas, a young owner of an old apartment, illustrates each step — from the ΔT diagnosis to the final installation — to give you a clear and achievable action plan before the next winter.
- Concrete gain: up to +5°C felt near the glass with premium models.
- Energy savings: reduction of heating bills by 10–30% depending on the glazing.
- Accessible cost: 15–40 €/m² in 2026, depending on brand and technology.
- DIY installation: 15–30 minutes per window with a basic kit.
- Risks: condensation, premature detachment if the installation or the product is unsuitable.
What is a window insulating film and how does it work
An insulating film is a multi-layer film installed on the inside of the glazing. It creates an air barrier and uses metal layers to reflect radiant heat back into the room.
The principle combines two effects: a still layer of air that limits conduction, and a decrease in emissivity (low-e) that reflects infrared radiation. Result: measurable reduction in heat loss and better energy performance without replacing the glazing.
Insight: the film replicates the mechanism of double glazing at a low cost, but its effectiveness strongly depends on the quality of the product and installation.
For whom and in what situations is the insulating film relevant
The film is particularly suitable for old dwellings equipped with single glazing, for tenants looking for a reversible solution, or for owners wishing for a quick gain before heavy renovations.
For an old north-facing apartment (significant ΔT), it is often the first profitable action; for recent double glazing, the benefits are more limited. Lucas, the owner of a two-room old apartment, chose a low-e film after measuring a glass/interior gap of 12 °C; the gap dropped to 4 °C after installation.
Insight: first identify whether your glazing is single or double; the potential for savings varies greatly depending on this parameter.
Advantages, limits, and points of attention of the insulating film
Advantages:
- Low to medium cost (15–40 €/m²) compared to replacing windows.
- Quick installation (15–30 min/window) and often reversible.
- Immediate comfort improvement: gain of 3–5°C near the window depending on the models.
- Possible UV protection depending on the chosen product.
Limits and precautions:
- Does not replace double/triple glazing in the long term.
- Risk of condensation if joints are poorly sealed or if ventilation is insufficient.
- Variable quality: some ultra-thin films detach within weeks.
Insight: to maximize the effect, combine film and sealing of the edges; this corrects 25–50% of residual losses.
Quick comparison of tested models (2025–2026)
Field tests compare thermal insulation, ease of installation, durability, and price. The table below summarizes the results observed on standard PVC windows.
| Model | Gain (°C) | Installation (min) | Duration (weeks) | Price (€/m²) | Rating |
|---|---|---|---|---|---|
| 3M Premium | +5 | 15 | 12 | 8 | 9.5/10 |
| Leroy Merlin (generic) | +3 | 20 | 6 | 4 | 8.0/10 |
| Ultra-thin model (to avoid) | +1 | 25 | 2 | 3 | 4.5/10 |
Insight: favor multi-layer or microbubble models; the initial extra cost often translates into better durability and fewer installation issues.
How to choose the best insulating film for your windows
The choice relies on three decisive criteria: type of glazing, budget, and occupancy profile. Here is a practical checklist:
- Determine whether your glazing is single or double glazing.
- Measure the exposure (north, south) and the surface to cover.
- Set a budget: <50 €/m² for a kit, >20 €/m² for a durable solution.
- Choose transparent film for living areas, metallic for cold facades.
- Check the light transmission to avoid unwanted loss of brightness.
For more in-depth product options and user feedback, consult recognized practical guides such as those from Energies Nouvelles or the comparative article by Bricoleur du Dimanche.
Insight: a good initial assessment (ΔT, exposure, budget) eliminates 70% of purchase errors.
Insight: a video demonstration clarifies the steps and greatly reduces the risk of bubbles.
Film installation: step-by-step tutorial for a durable result
Materials: soft squeegee, sprayer, cutter, mild soap, microfiber cloth. Estimated time: 15–30 min per window.
- Preparation: clean the glass with black soap or alcohol, then dry.
- Cutting: cut the film with a 5 cm margin to account for shrinkage.
- Wet application: spray generously on the glass and the film to allow repositioning.
- Smoothing: with the squeegee from the center to the edges to push out air.
- Drying: leave for 48 hours without touching to allow the final adhesion to set.
Insight: soapy water is your ally: it allows repositioning and limits bubbles that ruin performance.
Common errors, condensation, and solutions
The most common problems: persistent bubbles, premature detachment, and condensation between the film and the glass.
Causes and corrections:
- Bubbles: often linked to insufficient cleaning. Remove the film, clean, reapply wet.
- Detachment: uneven surfaces or ultra-thin film; favor multi-layer films for better adhesion.
- Condensation: poor sealing of edges or insufficient ventilation; seal the edges with clear silicone and ventilate regularly.
Insight: sealing the edges reduces residual leaks and limits condensation, thus optimizing energy performance.
Insight: consulting video tests helps compare actual light transmission and the visual effect of films.
Alternatives to insulating film and economic comparison
Several solutions coexist: magnetic secondary glazing, double glazing, silicone seals, thermal curtains. Here’s a summary comparative table.
| Solution | Reduction of losses | Approximate cost (€/m²) | Estimated lifespan |
|---|---|---|---|
| Thermal film | 10–35 % | 10–40 | 2–7 years |
| Magnetic secondary glazing | 50–55 % | 40–150 | 5–10 years |
| New double glazing | 60–70 % | 150–250 | 20+ years |
| Thermal curtains | 5–30 % | 20–60 | 5–10 years |
Insight: the film is the most cost-effective solution in the short term; the secondary glazing or replacement of glazing become so if the goal is sustainable, maximum performance.
Brands, innovations 2026 and where to buy
In 2026, the leading brands cited by users include ISOL-172i Luminis, Dimexact, BKSAI, Solar Screen, and 3M. Innovations incorporating microbubbles or trapped argon significantly improve insulation.
For purchasing, prioritize known retailers and check compatibility with your glazing. Detailed buying guides help compare products and prices, for example, the summaries available on Energidom or practical feedback from ScrapCinema.
Insight: pay a little more for a warranty and dimensional stability if you prefer effectiveness over several seasons.
Concrete examples: Lucas’ case and a tenant in Lille
Lucas (owner): north-facing single glazing, initial ΔT 12 °C. Choice: multi-layer low-e film. Result: ΔT reduced to 4 °C, increased comfort, and less sensation of cold walls.
Tenant in Lille: reusable magnetic kit, installation in 10 minutes per window, ROI in three months via savings on auxiliary heating.
Insight: simple diagnostics (IR thermometer, bill review) allow for quick profitability assessment.
Final checklist before buying and installing
- Measure your glass/interior ΔT and note it.
- Identify the type of glazing (single/double).
- Choose a film suitable for exposure and desired brightness.
- Prepare installation materials and clean the surface thoroughly.
- Seal the edges and ventilate after installation to avoid condensation.
For more user feedback and technical details, also read the advice on Astuce Maison and the analysis of UV benefits by ScrapCinema.
Insight: a methodical preparation guarantees a clean installation, limits returns, and optimizes energy performance.
What is an anti-cold thermal film and how does it work?
An anti-cold thermal film is a multi-layered film installed on the interior of the glazing. It creates an air layer and uses low-e layers to reflect heat inward, reducing exchanges by conduction and radiation and improving energy performance.
How to choose the best film for my windows?
Choose according to the type of glazing, your budget, and exposure. For single glazing, favor a multi-layer or microbubble low-e film. For a tight budget, opt for easy-to-install transparent kits but check for durability.
How to measure the actual effectiveness of the film?
Measure the glass/interior temperature before and after installation with an IR thermometer. Track your energy consumption over several weeks. Field tests show gains of 3–5°C near the window and a reduction in bills of 10–30% depending on the configuration.
Is installation accessible to a DIY enthusiast?
Yes: with a basic kit (squeegee, sprayer, cutter), installation takes 15–30 minutes per window. The wet protocol allows repositioning the film and pushing out bubbles for a clean result.